Paint A Bow - Your Creative Guide
Have you ever felt a little spark of creativity and wished you could just put it down somewhere, especially if that idea involves something as charming as a bow? Well, it's almost as if you can pick up a digital brush and make that vision come alive right on your computer screen. Thinking about how you might want to paint a bow, perhaps for a greeting card or a fun digital decoration, there are some pretty cool tools out there that make it surprisingly simple and quite enjoyable.
For anyone who enjoys putting their thoughts into pictures, whether you're drawing for fun or trying to make something for a project, these kinds of programs are a real treat. They offer a straightforward way to get your ideas down, giving you options to sketch, color, and refine. When you decide to paint a bow, you'll find that having the right software can make a big difference in how easily your creative thoughts translate into a finished piece.
It's interesting to consider that many of these programs have been around for quite some time, showing just how much people appreciate having a way to create pictures without needing fancy art supplies. They let you work with different tools, almost like having a whole art studio on your computer. So, if you're thinking about how you could paint a bow with some flair, you might be surprised at what's readily available to help you.
Table of Contents
- Getting Started with Your Digital Canvas to Paint a Bow
- What Tools Help You Paint a Bow with Ease?
- Taking Your Bow Creations to the Next Level
- How Do You Bring Outside Ideas to Your Bow Art?
- Is There More to These Programs Than Just to Paint a Bow?
- How Can You Get These Programs for Your Bow Projects?
- What About Using Your Painted Bow for Business?
- Summarizing Your Digital Bow Painting Experience
Getting Started with Your Digital Canvas to Paint a Bow
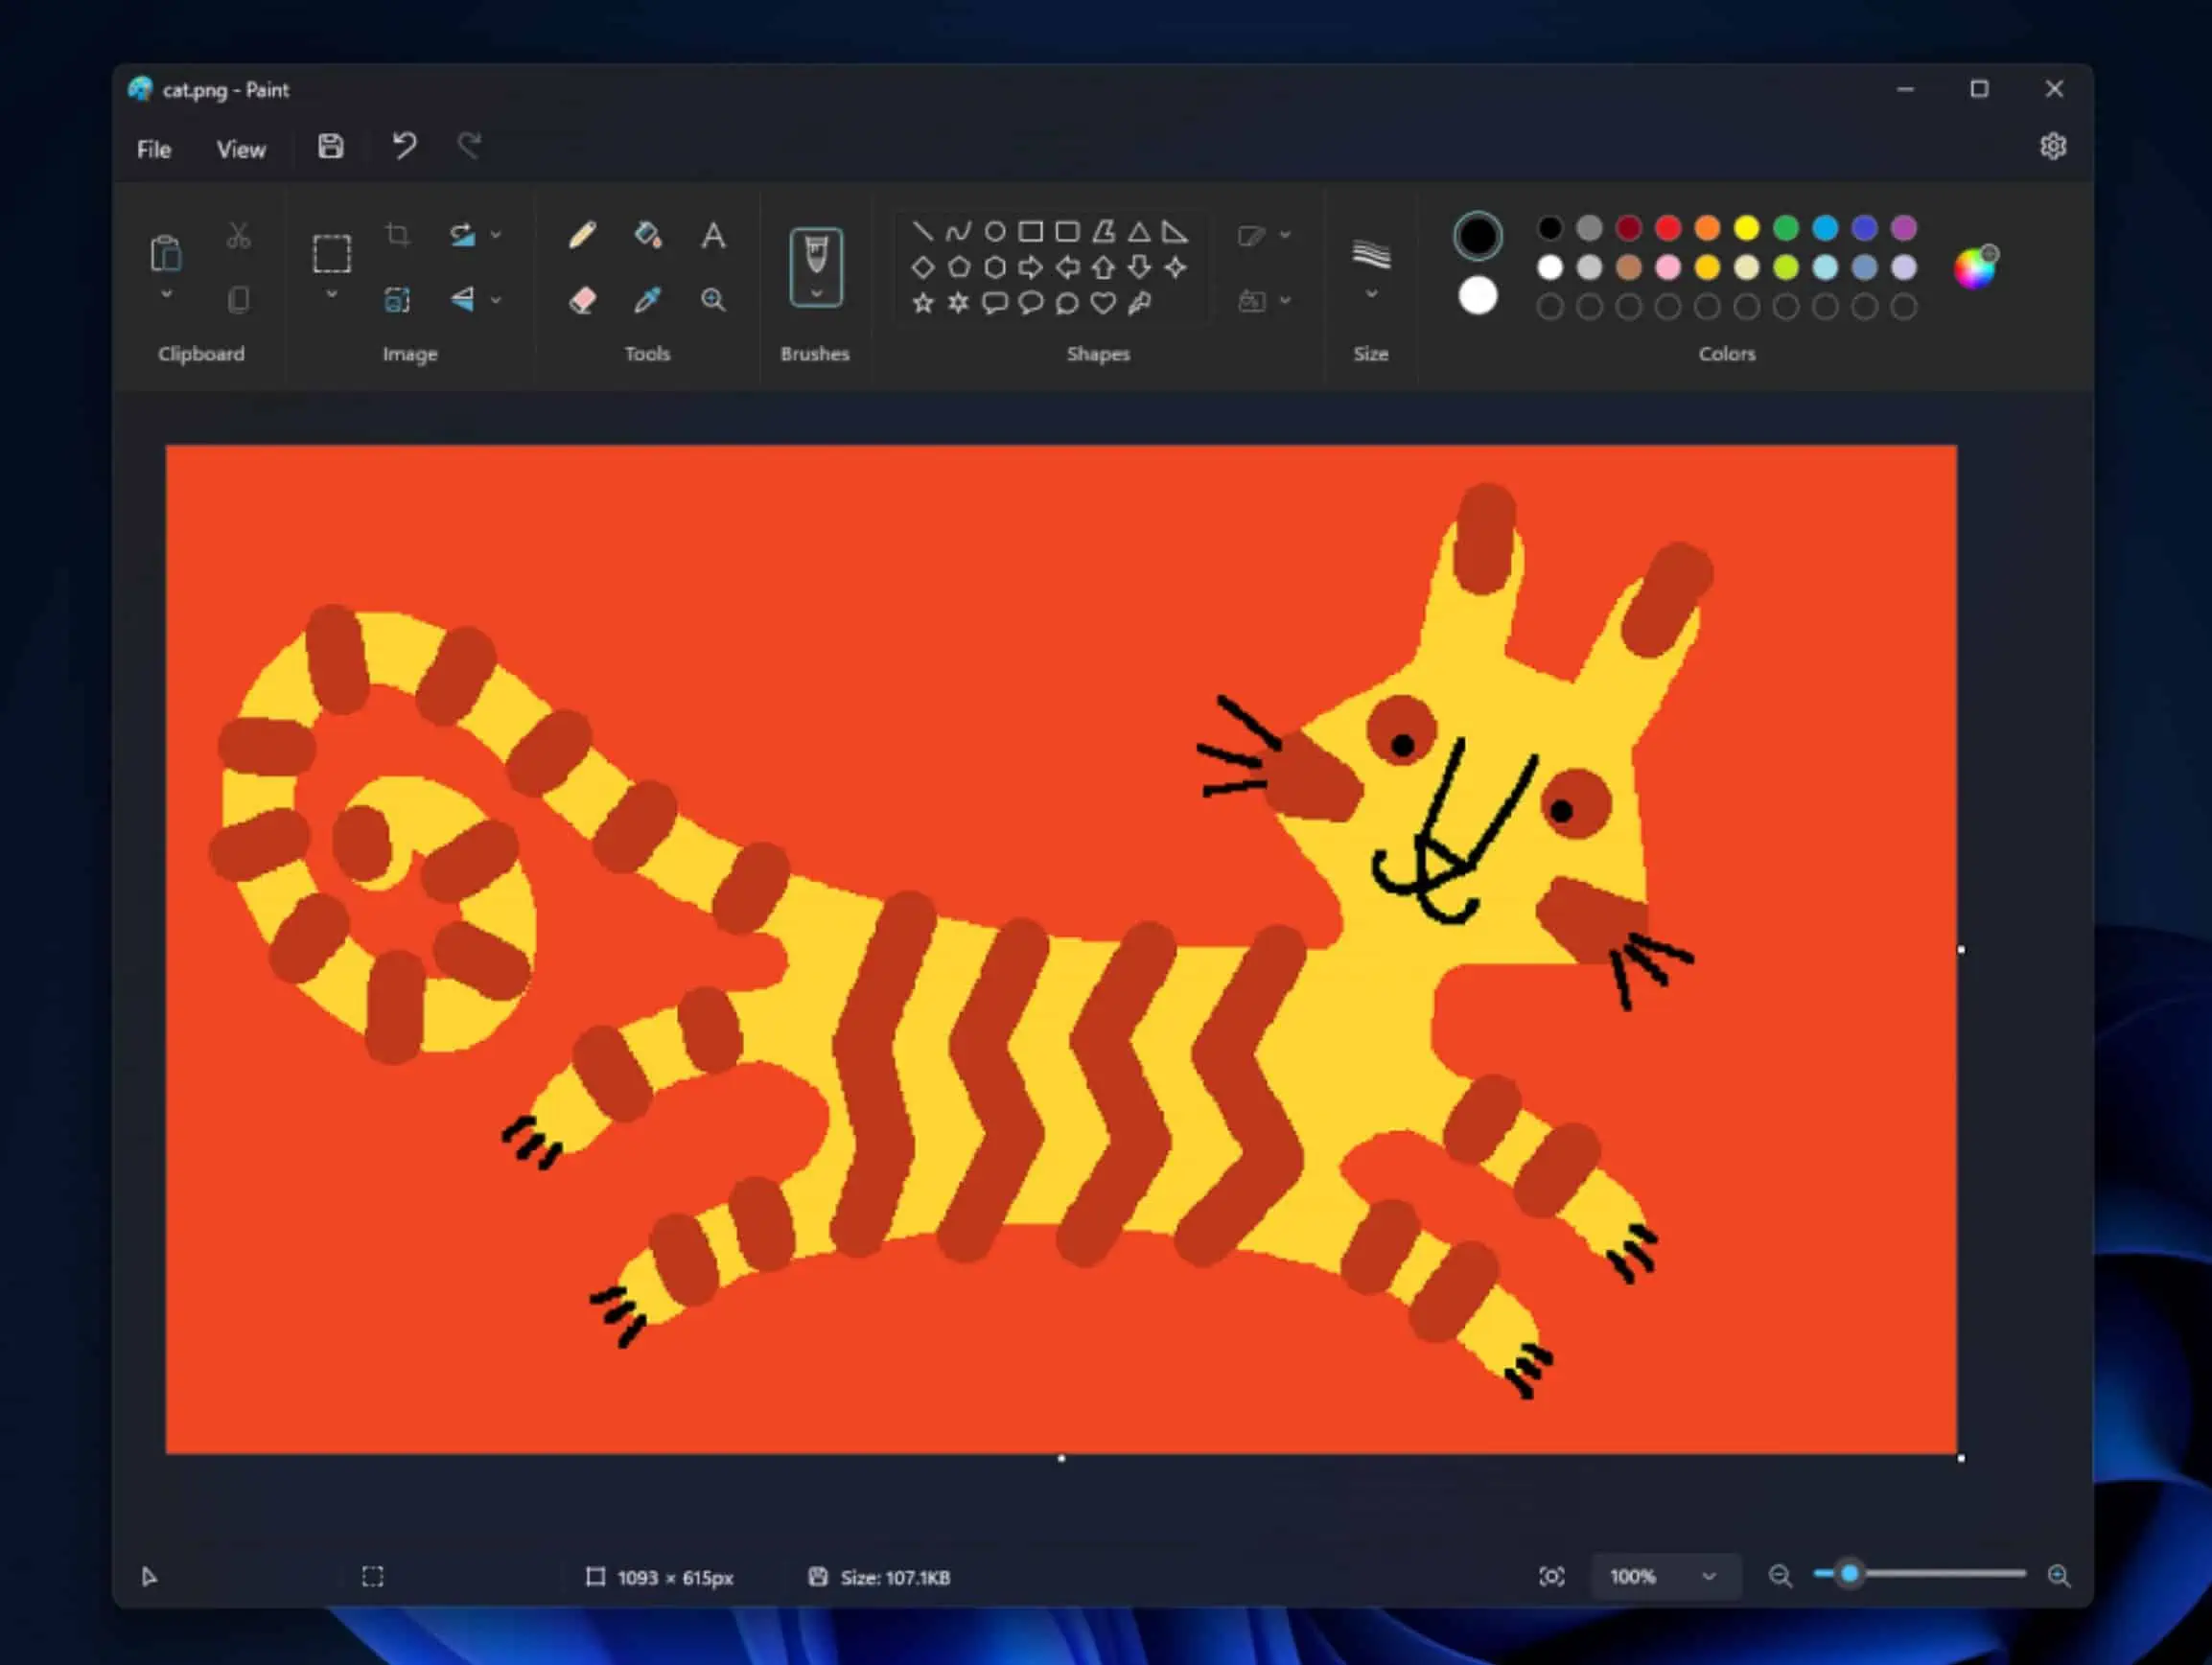
When you're ready to start putting colors onto a digital canvas, particularly if your goal is to paint a bow, you'll find that some programs are very simple to pick up. One program, often thought of as a classic, has been a favorite for quite some time on Windows computers. It offers a straightforward way to begin drawing and editing pictures. It's almost like having a basic sketchpad always ready for your ideas, which is quite handy for someone just starting out to paint a bow or any simple shape.
This program, which many people know well, has been a part of the Windows computer experience since the mid-1980s. It provides a simple set of tools that are easy to figure out, making it a good choice for quick drawings or edits. If you're looking to paint a bow without getting bogged down in complicated menus, this kind of simple graphics editor is a pretty good place to begin. You can open it up, pick a brush, and start creating almost immediately, which is nice.
So, to get going with your bow drawing, you just need to open up the program. It usually comes pre-installed on your Windows computer, so there's no extra work to do there. Once it's open, you'll see a blank area, ready for your creative input. This blank space is your canvas, where you can freely experiment with shapes and colors to paint a bow exactly as you picture it. It’s a very direct way to approach digital art, especially for simple designs.
What Tools Help You Paint a Bow with Ease?
When you sit down to paint a bow, you'll quickly realize that having the right digital art tools makes a big difference. These programs offer a variety of options that mimic real-world art supplies, but with the added benefit of digital flexibility. You can choose different kinds of brushes, for example, which can help you create the soft curves of a ribbon or the crisp lines of a knot. It’s actually quite satisfying to see how these digital tools respond to your movements.
Basic Drawing Tools for Your Bow Design
The core of any drawing program, especially one you might use to paint a bow, comes down to its basic tools. You'll find things like different brush types, which let you make lines that are thin or thick, soft or sharp. These are quite helpful for outlining the shape of your bow or filling in its different parts with color. You can also pick various colors from a palette, allowing you to choose just the right shade for your bow's ribbon, whether it's a bright red or a gentle pastel. This flexibility makes it easier to achieve the look you are after.
Beyond brushes, there are often tools for drawing straight lines, circles, or squares, which might seem less useful for something organic like a bow, but they can actually help with precise elements. You might use a line tool to define the edge of a ribbon or a circle to help shape a loop. These programs also usually have an eraser, which is incredibly useful for fixing mistakes without having to start over. This ability to easily correct things means you can experiment more freely when you paint a bow, trying out different styles without worry.
In some respects, these tools give you a lot of freedom to just play around. You can try out different brush sizes to see what works best for the kind of bow you're trying to create. Maybe a wider brush for the main body of the ribbon and a thinner one for the delicate folds. The ability to quickly change tools and colors means your creative flow isn't interrupted, allowing you to focus on the artistic side of things as you work to paint a bow.
Making Your Bow Pop with Layers
For those who want to add more depth and control to their artwork, especially when you paint a bow, some programs offer something called "layers." Think of layers as transparent sheets stacked on top of each other. You can draw one part of your bow on one sheet, like the main ribbon, and then draw the shadows or highlights on another sheet. This is incredibly useful because if you make a mistake on one layer, it doesn't affect the other parts of your drawing. It's almost like having an undo button for specific sections of your work.
Using layers can really help when you paint a bow that has a lot of detail. For example, you could put the basic shape of the bow on one layer, then add a pattern or texture to the ribbon on a separate layer. If you decide you don't like the pattern, you can simply remove or change that layer without touching the underlying bow shape. This makes the editing process much more flexible and less frustrating. It's a way to keep your work organized and make changes with a lot more ease.
This approach also means you can experiment with different color schemes or effects for your bow without committing to them immediately. You can duplicate a layer, try out a new color on the copy, and if it doesn't look right, you can just delete that copy. It’s a very powerful feature for anyone looking to create more complex or polished digital artwork, giving you a lot of room to refine your efforts as you paint a bow with precision and care.
Taking Your Bow Creations to the Next Level
Once you've got the basics down for how to paint a bow, you might find yourself wanting to add a little something extra, a special touch that makes your artwork stand out. Some image editing programs offer more advanced features that go beyond just drawing lines and filling in colors. These tools can help you give your bow a more polished look, adding effects that would be hard to achieve with simpler programs. It's like having a whole extra set of creative possibilities at your fingertips.
Adding Special Touches to Your Painted Bow
One feature that has been noted as quite clever is the gradient tool. When you use this to paint a bow, you can create a smooth blend of colors, making your ribbon look more three-dimensional or giving it a soft, ethereal glow. Instead of a solid block of color, a gradient can add depth and realism, making your bow appear to have light falling on it in a natural way. This kind of tool can really bring your bow to life, giving it a more sophisticated appearance.
Beyond gradients, many programs that help you paint a bow also include various special effects. These might be filters that can blur parts of your bow, sharpen its edges, or even add a subtle texture. Imagine adding a slight shimmer to a satin bow or a rougher look to a burlap one. These effects can be applied with just a few clicks, allowing you to quickly experiment with different looks until you find just the right one for your creation. It’s actually quite fun to see how these changes transform your artwork.
The ability to use these kinds of effects means you're not limited to just flat, simple drawings. You can give your painted bow a sense of material, light, and shadow, making it feel more real or more stylized, depending on your artistic vision. It offers a way to go beyond basic shapes and add a truly unique character to your digital art. So, if you're aiming for a bow that really pops off the screen, these extra features are definitely worth exploring.
Expanding Your Creative Options for Your Bow
Some of these programs, particularly those designed for more advanced image editing, have a system that lets you add new features. This means you can expand what the program can do, which is super helpful when you want to paint a bow with a very specific look or use a particular type of file. These additions are often called "plugins," and they can introduce new tools, new effects, or even support for different kinds of image files that the program might not handle on its own. It's almost like giving your software a little upgrade.
For instance, if you're working on a very detailed bow, you might find a plugin that offers a unique brush type, one that mimics a specific fabric texture or a particular kind of glitter. Or, you might need to open a picture of a bow that's in a less common file format; a plugin could allow the program to recognize and edit that file. This flexibility means the software can grow with your creative needs, rather than limiting you to its original set of capabilities. It's a very practical way to make sure you always have the right tools for your bow painting projects.
Examples of these additions include support for new kinds of files, allowing you to work with a wider range of images, or new effects that can transform your bow in interesting ways. This open-ended system means that the community around the software can contribute new ideas and tools, keeping the program fresh and adaptable. It's a pretty neat way to ensure that your digital art toolbox is always ready for whatever creative challenge comes your way, especially when you're trying to paint a bow with a specific artistic flair.
How Do You Bring Outside Ideas to Your Bow Art?
When you're trying to paint a bow, sometimes you need a little inspiration, or perhaps you want to work with an existing picture. Digital art programs make it really easy to bring in images from other places, use them as a guide, and then save your own creations. This ability to import, work on, and then save your pictures is a fundamental part of the digital art process. It means your creative work isn't confined to just what you draw from scratch.
Bringing in Pictures to Help You Paint a Bow
You can bring pictures into these programs, which is incredibly useful if you have a photo of a bow you want to reference, or if you want to add a bow to an existing image. This process usually involves a simple menu option, like "Open" or "Import." Once the picture is in the program, you can then start working on it, perhaps tracing over a bow, or using its colors as a guide for your own drawing. It's a very straightforward way to get your starting material onto the digital canvas.
This feature means you're not limited to creating everything from scratch. You can take a photograph of a real bow, bring it into the program, and then use the tools to paint a bow that matches it perfectly, or just use it as a jumping-off point for your own unique design. It allows for a lot of flexibility in how you approach your artistic projects. You might even import a background image and then add your own hand-drawn bow on top of it, creating a layered scene.
So, whether you're trying to replicate a specific bow or simply need a visual cue, the ability to import images is a pretty important aspect of these programs. It bridges the gap between the physical world and your digital canvas, making it easier to translate your ideas into a finished piece of art. It definitely makes the process of how to paint a bow more versatile and adaptable to different creative needs.
Keeping Your Bow Artwork Safe and Sound
After you've spent time and effort to paint a bow, you'll want to make sure your work is saved. These programs allow you to save your creations to your computer's storage, so you can come back to them later or share them with others. This saving process is usually very simple, often just a click of a button or a menu choice. It’s a very important step to make sure all your hard work is preserved.
When you save your bow picture, you usually get to choose the file type, like a common image format that can be viewed on almost any device. This means your beautifully painted bow can be easily shared with friends, uploaded to a website, or even printed out. The program also often keeps a record of your changes, allowing you to go back to earlier versions if you make a mistake or change your mind. This "undo history" is stored temporarily, which means you have a lot of freedom to experiment without fear of losing your progress.
The amount of space your saved files take up will depend on what you've done to the image, especially if you've made a lot of changes or used many layers. But generally, saving your work is a quick and painless process. It ensures that your creative efforts are secure and ready for whatever you want to do with them next. So, once you finish your masterpiece, you can easily store it away, ready for its next appearance.
Is There More to These Programs Than Just to Paint a Bow?
While the focus might be on how to paint a bow, it's worth noting that these digital art tools are incredibly versatile. They're not just for drawing simple shapes; they're for anyone who enjoys creating, whether that means drawing, adding color to pictures, or designing various visual elements. These programs offer a broad set of capabilities that go far beyond just one specific kind of drawing. It's a bit like having a general-purpose creative workshop.
Beyond Just Drawing Your Bow
One of the classic programs, often known by a very familiar name, is a graphics creation and editing tool that has been a standard part of Windows computers for decades. It's a testament to its simple utility that it's been around for so long. While it might not be the most complex tool out there, it's very good at what it does, which is allowing people to make and change pictures with ease. So, while you can definitely paint a bow, you can also draw anything else your imagination comes up with.
There are also projects that have grown out of these simple drawing programs, expanding their abilities significantly. For instance, one project that started from a basic paint program has now incorporated features like a sound recorder, a notepad, a calculator, and even a file browser, all built with a lot of attention to detail. This shows that the underlying idea of a simple, accessible creative tool can be a starting point for much bigger and more varied applications. It's almost like a digital Swiss Army knife for your computer.
These developments mean that the skills you pick up using a program to paint a bow can be applied to many other creative and practical tasks. The fundamental ways you interact with colors, shapes, and images are similar across different applications. So, learning one program can actually help you use others, making your overall digital experience much smoother. It’s a good way to build a foundational understanding of how computer graphics work.
Using Your Bow Creations for Different Purposes
The flexibility of these programs means that your painted bow, or any other creation, isn't limited to just being a picture on your screen. You can use your artwork for a variety of purposes. For example, if you've designed a lovely bow, you could use it in a school project, as part of a presentation for work, or even as an element in a graphic for a government document. This wide range of uses makes these tools very practical for many different kinds of people and organizations.
The fact that you can use these programs for business, commercial, school, or government activities is a big plus. It means there are no restrictions on how you can apply your creative output. If you design a logo that includes a bow for a small business, you can do so freely. Or, if a student needs to illustrate a report with a picture of a bow, they can use these tools without any special permissions. This open approach really encourages widespread use and creativity for everyone.
So, whether your goal is to paint a bow for a personal craft project or to create a visual asset for a professional presentation, these programs provide the means to do so without any barriers. They truly are for anyone who has a need to create or modify images, regardless of the context. This broad applicability makes them valuable assets in many different environments, helping people communicate ideas visually.
How Can You Get These Programs for Your Bow Projects?
If you're thinking about getting one of these programs to paint a bow or for any other creative task, the process is usually quite straightforward. For the more advanced image editing software, getting it onto your computer is generally a simple matter of downloading an installer from an official source. This ensures you get the correct and most up-to-date version, which is pretty important for a smooth experience.
Finding and Installing the Software for Your Bow Art
The recommended way to get a program like Paint.NET, especially if you don't already have it, is to download the installer directly from its official website. This ensures you are getting a legitimate copy and the latest features. The installer is designed to decompress the necessary files and then guide you through the process of setting up the program on your computer. It's a very user-friendly process, meaning you don't need to be a computer expert to get started with painting your bow.
Once you've downloaded the installer, you just need to run it. It will handle the extraction of all the files needed for the program to work properly. After the files are extracted, the actual installation part begins. This step usually involves clicking a few "next" buttons and agreeing to the terms of use. It's all designed to be as simple as possible so you can quickly get to the fun part of creating your bow designs. This ease of access is definitely a plus for anyone eager to start drawing.
This method of getting the software is also useful if you already have the program but need to update it. The same installer can often be used to bring your existing version up to date, ensuring you have access to the newest tools and any fixes that have been made. So, whether you're starting fresh or just looking to refresh your current setup, the installation process is built for simplicity, helping you quickly get back to drawing your bow.
Keeping Your Bow Painting Program Current
Keeping your digital
- Vance Randolph Onlyfans
- Phat Ass Asian
- Leo Gold Nudes
- Https Onlyfans Com Bigbootybaileyvip
- Icl Ts Pmo Copy Paste
Microsoft Paint app on Windows 11 now comes with centered canvas
Paint - Home Wiki

Paint - Wikipedia
