Paper Mache Whale Shark - Your Next Big Craft Project
Crafting a paper mache whale shark can be a truly rewarding creative pursuit, bringing a piece of the ocean's majesty right into your living space. This art form, which uses readily available items, allows for a surprising amount of detail and character in your finished piece. It is a way to express your love for marine life while also putting everyday items to a new purpose.
So, too it's almost, many people find themselves drawn to the idea of making these magnificent creatures, perhaps after seeing popular videos or pictures online. There is something quite appealing about transforming humble paper and a simple paste into a large, impressive animal. It does not ask for special tools or expensive supplies, which makes it a project accessible to many who enjoy making things with their hands.
This guide aims to help you understand the process, from getting your initial shape ready to putting on the last bits of paint. We will talk about what you might need, how to put the pieces together, and where to look for ideas. You will find that creating your own paper mache whale shark is a project that, in a way, grows with you, as each step brings it closer to being real.
- Is Gmovies Down
- I Want Leche
- Chaac Vs Poseidon Netflix
- Womandriven Doris Onlyfans
- Onlyfans Com Cushkingdom
Table of Contents
- How Do You Start a Paper Mache Whale Shark Project?
- What Materials Do You Need for a Paper Mache Whale Shark?
- Building the Base for Your Paper Mache Whale Shark
- Applying the Layers to Your Paper Mache Whale Shark
- Finishing Touches for Your Paper Mache Whale Shark
- Where Can You Find Ideas for Your Paper Mache Whale Shark?
- Tips for a Smooth Paper Mache Whale Shark Creation
- Why Make a Paper Mache Whale Shark?
How Do You Start a Paper Mache Whale Shark Project?
When you begin a project like making a paper mache whale shark, the first thing to think about is the overall size and where it will live once it is done. Will it be a small piece for a shelf, or a large decoration for a wall? Knowing this helps you pick the right starting materials. For instance, a big cardboard or paper mache whale shark might need a strong frame to hold its shape. You might see these kinds of projects shared as part one of a pretty big family fun activity, which gives you an idea of the scale some people choose. It is about getting a clear picture of your finished piece before you even pick up your first piece of material.
To get going, you often need to make an outline. This outline serves as the skeleton for your whale shark. It is like drawing the basic shape in the air before you build it up. Some people find that starting with cardboard for this outline is a really good way to go. You make the outline of the whale shark with some cardboard just like this, cutting out the main body shape. This initial step is, you know, quite important because it sets the overall size and general form for everything else you will add. It is the very first step in bringing your vision of a whale shark out of the ocean and into your house using paste and paper.
This early planning stage also includes thinking about where you will get your ideas. Many people find inspiration for their whale shark paper mache creations by looking at what others have done. There are many places to find and save ideas about how to make a whale shark out of cardboard, and also paper mache shark DIY projects. You can see what shapes others have used, or how they have handled specific parts of the whale shark's body. This initial look around can really help you decide what kind of whale shark you want to build and how you might go about it, basically.
What Materials Do You Need for a Paper Mache Whale Shark?
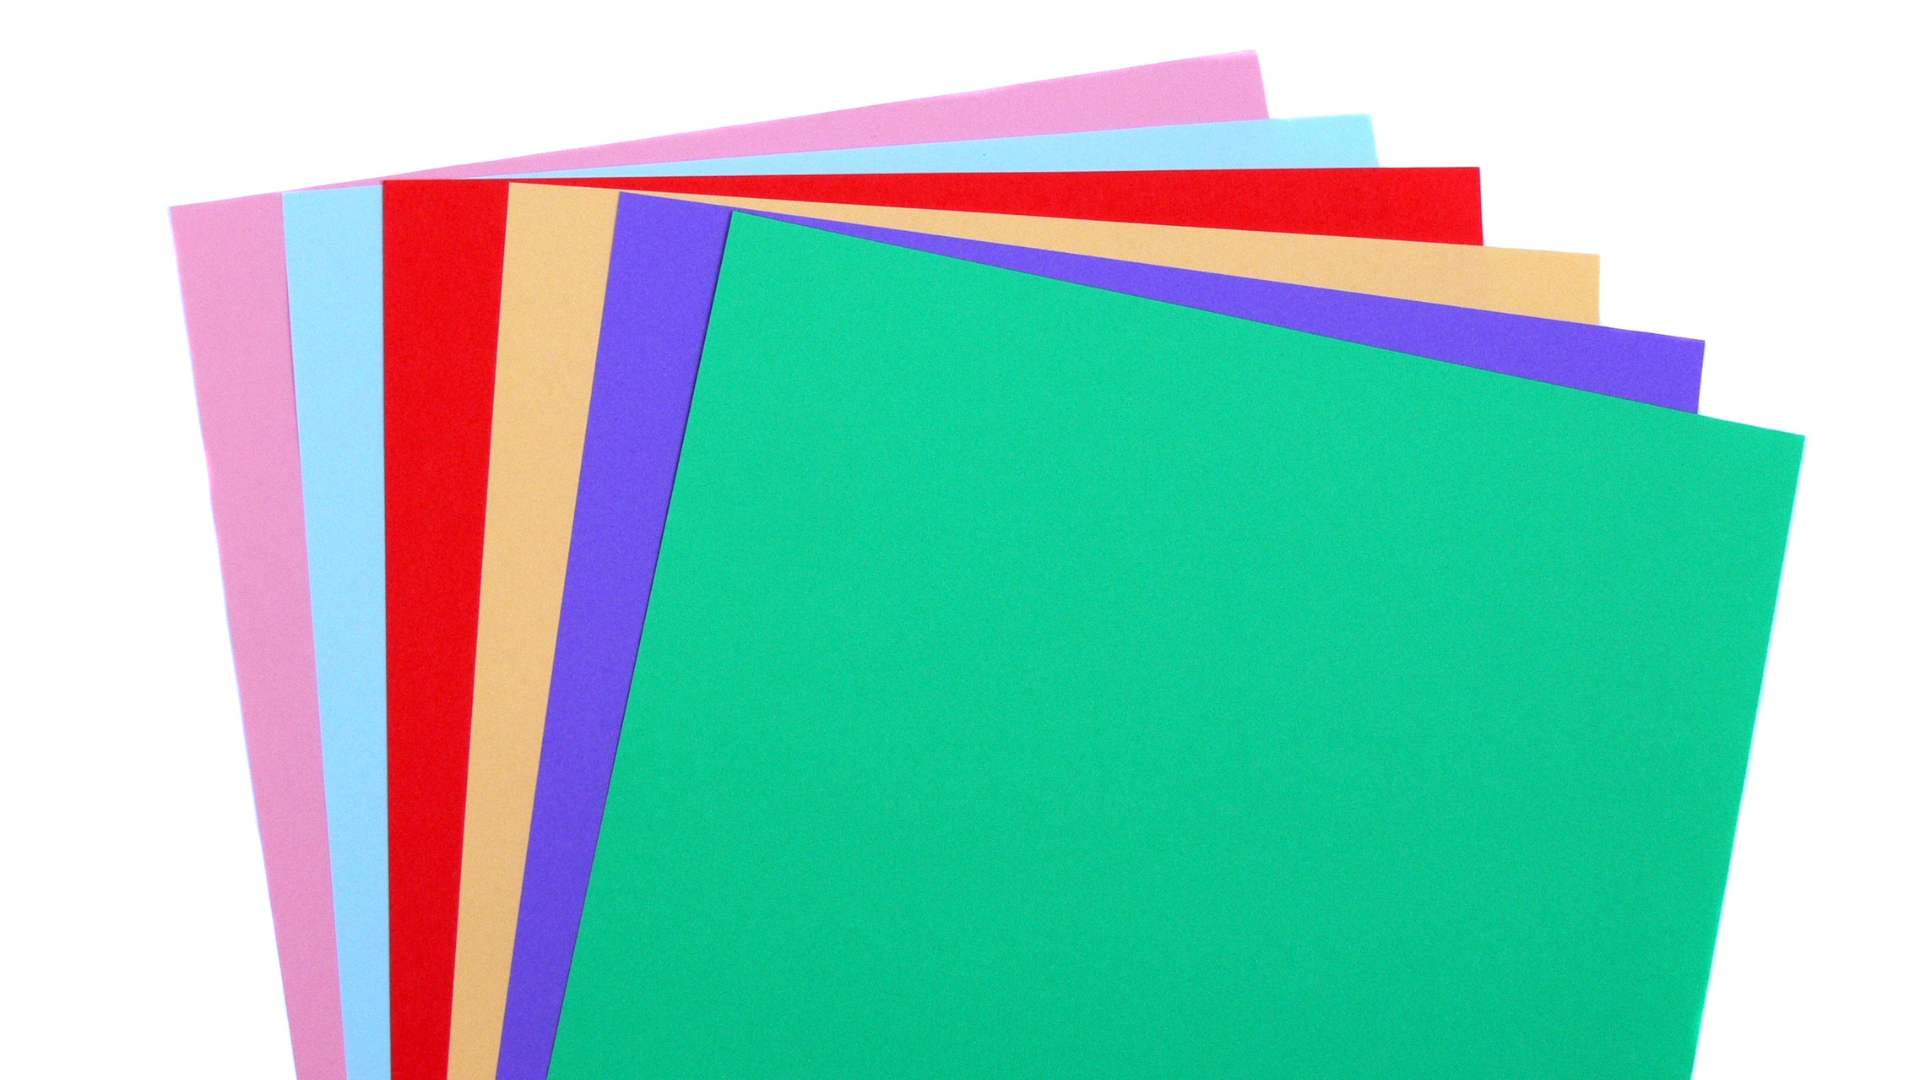
Creating a paper mache whale shark does not ask for many special items. In fact, a lot of what you need can be found around your house. This makes it a project that is not only fun but also good for using up things you might otherwise throw away. You use recycled materials and things you can find around your house to make interesting crafts, which is a great aspect of this kind of work. So, you can feel good about giving new life to old paper and cardboard.
For the basic shape and support of your paper mache whale shark, you will often use cardboard. This material is quite versatile for making the main body and any parts that need to stand out. The basic shape of this paper mache shark is formed using balloons and cardboard to support the paper mache. Balloons can be good for creating rounded body parts, while cardboard provides the flat surfaces and structural strength. You might also use pieces of wire to give certain parts, like fins, a bit more stiffness or to help them hold their position, in a way.
When it comes to the paper mache itself, you will need paper and a paste. Newspapers are a very common choice for the paper layers, as they are easy to tear and soak up the paste well. Gray toilet paper is another option mentioned for making a whale sculpture, which suggests it can be used for smoother finishes or different textures. For the paste, glue, such as wallpaper glue, is often used. This type of glue mixes with water to create a thick, sticky mixture that holds the paper layers together as they dry. It is a simple and quick way to make a whale sculpture, using these everyday items.
Other materials that might come in handy for your paper mache whale shark include polystyrene foam or styrofoam. These materials can be used to create a solid core for your whale shark, especially if you are aiming for a larger or more solid piece. They can be shaped easily and provide a light yet firm base for the paper mache layers. So, you have a few choices for the inner structure, depending on what you want to achieve and what is available to you.
Building the Base for Your Paper Mache Whale Shark
Building the foundational structure for your paper mache whale shark is a really important step. This part gives your whale shark its overall form and size. Without a good base, the finished piece might not have the shape you want. The goal here is to create a strong yet light framework that the paper mache layers can stick to and be supported by. This initial build is where your whale shark begins to take on its familiar outline, you know.
For many, the process starts with cardboard. You cut out the main outline of the whale shark with some cardboard. This usually means creating two large side profiles of the whale shark. These two pieces will then be connected by strips of cardboard to form the three-dimensional body. You cut out a bunch of strips of cardboard that are the right size to connect the two main outlines, giving the body its width. This method helps to create a hollow structure that is light but still holds its shape well, which is pretty neat for a big project.
If you are looking to make a more rounded body for your paper mache whale shark, especially for parts like the head or a very plump belly, balloons can be very useful. The basic shape of this paper mache shark is formed using balloons and cardboard to support the paper mache. You can inflate balloons to the size you need and then attach them to your cardboard frame using tape or other methods. This gives you a smooth, curved surface to apply your paper mache layers onto, which is a good way to get those natural, flowing lines of a whale shark.
Shaping the Cardboard for Your Paper Mache Whale Shark
When you are shaping the cardboard for your paper mache whale shark, thinking about the details of the whale shark's body is quite helpful. You start with the large outline, as mentioned, but then you need to think about how to give it volume. You can cut out many cardboard strips and attach them across the main outline pieces. These strips act like ribs, creating the rounded shape of the whale shark's body. The more strips you use and the closer they are together, the smoother your final shape will be. It is a bit like sculpting, but with cardboard, actually.
For areas that need a specific curve or bump, you might score the cardboard, which means cutting partway through it, so it bends more easily. This allows you to create the gentle curves of the whale shark's back or belly. You can also layer smaller pieces of cardboard to build up certain areas, giving them more prominence. This method helps to ensure that your paper mache whale shark has a distinct and recognizable form, which is what you are going for, right?
Sometimes, people use polystyrene foam or styrofoam for parts of the base. This material can be carved or cut into shapes that are hard to achieve with just cardboard, especially for a very smooth or dense section of the whale shark's body. It provides a solid core that you can then cover with cardboard strips or directly with paper mache. This can be a simple and quick way to make a whale sculpture that has a very defined shape, so it is an option to consider.
Adding Fins to Your Paper Mache Whale Shark
The fins are a very important part of making your paper mache whale shark look like the real animal. Whale sharks have distinct fins, including two large pectoral fins, a small curved dorsal fin, and a tail fin. You will want to cut out these shapes from cardboard. For example, you might cut out two 2 ft long fins for the whale, which would be the pectoral fins. These are the ones that stick out from the sides of the body.
For the dorsal fin, which is on the whale shark's back, and the tail fin, you would cut out their specific shapes. The tail fin, or caudal fin, is what helps the whale shark move through the water, so its shape is quite important for realism. It is handy to make the two flippers one piece, so you can just slip it through the chicken wire with. While the text mentions "chicken wire," which implies a wire frame, you can apply this idea to any strong base structure you have made. The idea is to create a slot or opening in your main body structure where you can slide the base of the fin in, securing it with tape or more cardboard strips. This helps the fins stay firm and in place as you add the paper mache layers.
You can also use wire inside the cardboard fins to give them extra support, especially if they are long or thin. This helps prevent them from bending or drooping as the paper mache dries. Attaching the fins securely to the main body is key, as they will be holding some weight from the paper mache. So, taking your time to make sure they are firmly attached will save you trouble later on, anyway.
Applying the Layers to Your Paper Mache Whale Shark
Once your base structure for the paper mache whale shark is ready, it is time to start applying the paper and paste. This is the part where your whale shark really starts to take on its solid form. You will need your torn paper, typically newspaper, and your paste mixture. The paste should be smooth and not too thin, otherwise, it will just drip everywhere. You want it to be thick enough to cling to the paper and the cardboard, basically.
The process involves dipping strips of paper into the paste, making sure they are fully coated but not dripping wet. Then, you smooth these paste-covered strips onto your whale shark's frame, overlapping them slightly. You want to make sure there are no air bubbles trapped underneath the paper. Each layer needs to be applied smoothly to avoid lumps. The baby sperm whale wall hanging was easy to make, once I figured out what to do about the lumps, and I like how it came out. This suggests that dealing with bumps and unevenness is a common part of the process, and smoothing them out as you go is important for a nice finish.
You will apply several layers of paper mache to build up strength and create a smooth surface. It is usually a good idea to let each layer dry somewhat before adding the next, especially for larger projects. This helps prevent the structure from becoming too soggy and losing its shape. The number of layers depends on how strong you want your paper mache whale shark to be and how smooth you want the surface to appear. For a wall hanging or a decoration that will be handled a bit, more layers are generally better, you know.
Some people use different types of paper for the final layers, such as gray toilet paper, to get a smoother finish or a different texture before painting. This can help to hide the newspaper print and provide a better surface for paint. The idea is to bring a shark out of the ocean and into the house using paste and paper, and these layers are what make that transformation happen. It is a patient process, but seeing the form emerge is very rewarding, really.
Finishing Touches for Your Paper Mache Whale Shark
After all the paper mache layers have dried completely, your paper mache whale shark will be ready for its finishing touches. This usually involves painting and possibly adding a protective coat. The painting is where you give your whale shark its distinct colors and patterns. Whale sharks have a unique spotted pattern, so you might want to try to recreate that. You can use acrylic paints, which work well on paper mache surfaces.
Before painting, you might want to do a final check for any rough spots or lumps that need smoothing. If
- Laura Haddock Angelina Jolie
- Phat Ass Asian
- Serena Sanchez Chino
- Dr Miami Penis Extension
- Aoz Desert Storm

How Paper Changed the World - PaperPapers Blog
Paper: Everything You Need to Know
Clipart Panda - Free Clipart Images
