Homemade Dry Yogurt - A Simple Guide To Creating This Snack
Have you ever thought about taking your favorite creamy yogurt and giving it a whole new life? It's almost, you know, like transforming something familiar into something quite different, something that offers a unique texture and a concentrated flavor. We often think of yogurt as that cool, smooth treat, perfect for breakfast or a quick snack, but there's a fascinating way to prepare it that changes its very nature, making it a wonderful addition to your pantry. This process isn't nearly as complicated as it might sound, and it opens up a world of possibilities for enjoying your go-to dairy product in a truly fresh way.
This idea of changing something by removing its liquid, you see, is something we do all the time without perhaps giving it much thought. Think about herbs drying in the sun, or fruit that's been prepared to last longer; it's all about getting rid of the moisture. When we talk about making a dry yogurt recipe, we're doing just that: taking away the water content to create a more solid, sometimes even crispy, form of yogurt. It’s a bit like making a concentrated version of what you already love, giving you a versatile ingredient or snack that stores well and tastes pretty amazing. So, we're going to walk through how you can achieve this at home.
The beauty of this method, you know, lies in its simplicity and the delightful results it brings. It's a way to experiment with food preservation and create something that's both nutritious and really fun to eat. Whether you're looking for a new topping for your morning cereal, a crunchy snack to munch on, or even a clever way to use up extra yogurt before it goes bad, this dry yogurt recipe might just be what you're looking for. We'll cover everything from what "dry" actually means in this context to the steps you'll follow and some delightful ways to enjoy your homemade creation.
Table of Contents
- What Does "Dry" Truly Mean for Your Dry Yogurt Recipe?
- Why Make a Dry Yogurt Recipe?
- Getting Started - The Dry Yogurt Recipe Basics
- What You'll Need for Your Dry Yogurt Recipe
- The Step-by-Step Dry Yogurt Recipe Process
- How Long Does a Dry Yogurt Recipe Take to Dry?
- Creative Ways to Enjoy Your Dry Yogurt Recipe
- Is Your Dry Yogurt Recipe Safe to Store?
What Does "Dry" Truly Mean for Your Dry Yogurt Recipe?
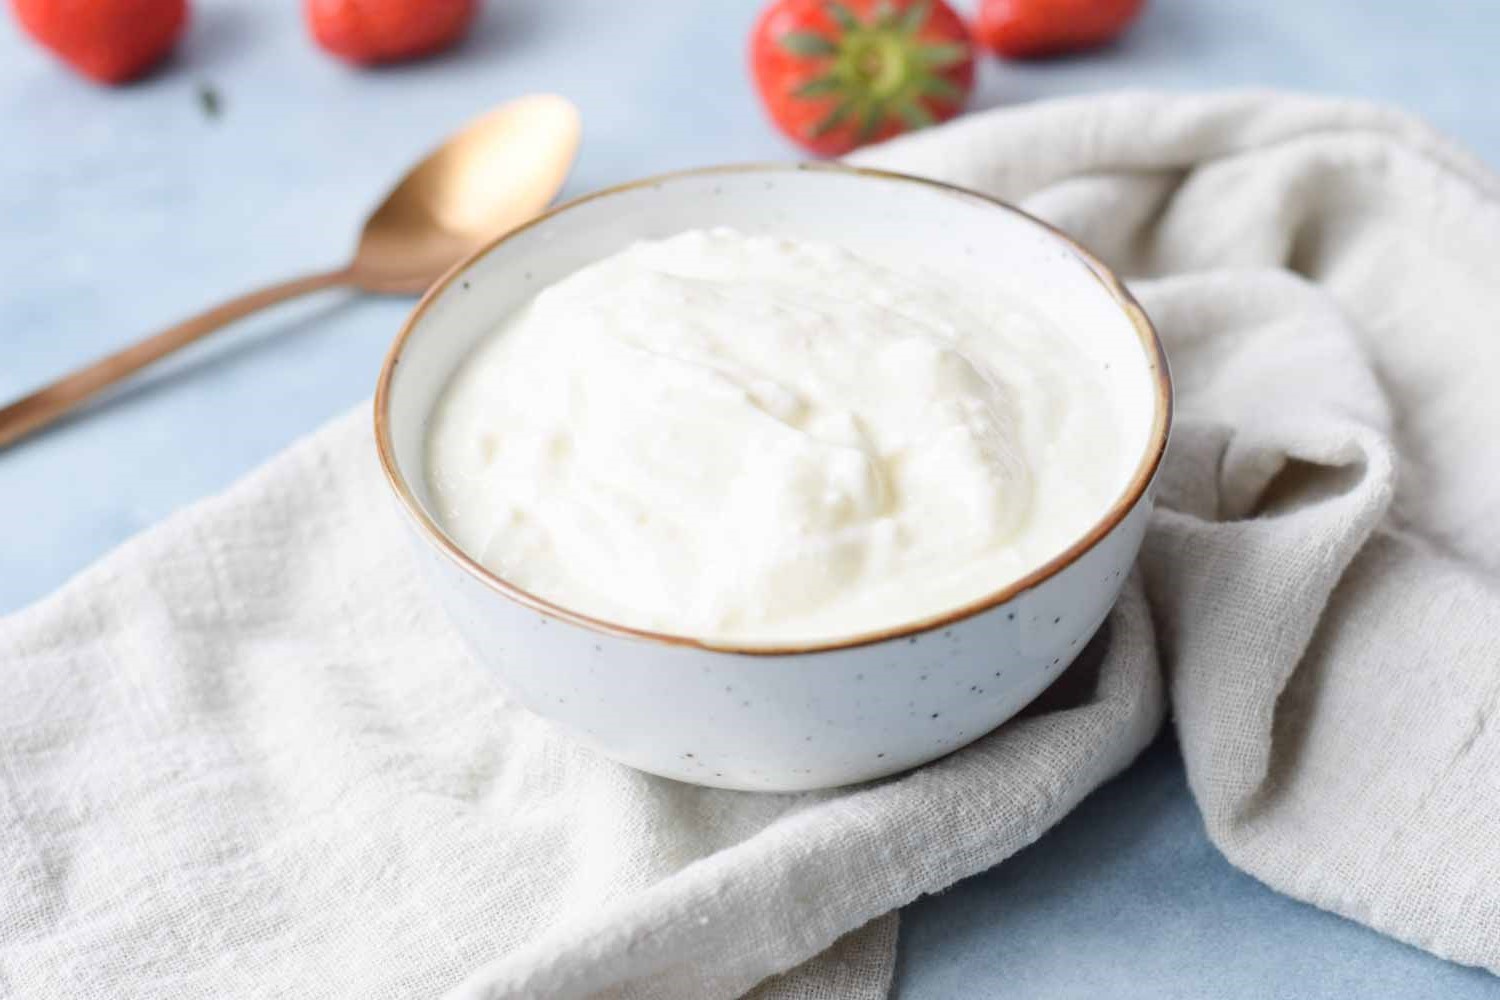
When we talk about something being "dry," especially in the context of a dry yogurt recipe, we're talking about getting rid of the water content. It's about taking away the liquid that makes yogurt soft and creamy. Think about how a towel feels after it's been in the sun for a while; it's lost all its wetness, you know, becoming free from dampness. That's the idea here. We want to remove the moisture from the yogurt, making it more solid and concentrated. This process is quite similar to how people preserve foods like fruit or meat by extracting their moisture, allowing them to last much longer without spoiling. It's a natural way of changing the food's texture and shelf life.
So, when you hear "dry yogurt recipe," it means we're aiming for a state where the yogurt has had its liquid drained away, evaporated, or otherwise removed. It's not about making it brittle or dusty, but rather about creating a product that is free from wetness, perhaps a bit crumbly or even crisp, depending on how far you take the drying process. This is different from, say, dry skin, which feels less oily than normal, or a dry climate, which just doesn't get much rain. For our dry yogurt recipe, it's all about intentionally removing the water that's naturally present in the yogurt, leaving behind a more concentrated and stable form of the dairy product. It's a pretty interesting transformation, actually.
The goal, therefore, is to get the yogurt to a point where it is relatively free from liquid, especially water. This means it won't be wet or damp to the touch. You want to make sure there's no moisture on it or in it, or around it, which is the general idea behind making something dry. This transformation is what makes a dry yogurt recipe unique, allowing you to experience yogurt in a whole new way. It's about achieving that absence of water, that freedom from moisture, that changes its character entirely. It's a simple concept, but it has a big impact on the final product, so, you know, it's worth understanding.
- Taylor Swift Ass 2024
- Syren De Mer Selfie
- Dylan Raiola Matthew Stafford
- Aisha Ali Khan
- Neyleen Ashley Of
Why Make a Dry Yogurt Recipe?
There are quite a few good reasons why you might want to try making a dry yogurt recipe. For one, it's a fantastic way to extend the life of your yogurt. If you find yourself with a lot of yogurt nearing its expiration date, turning it into a dry form can save it from going to waste. It's a bit like preserving other foods, where removing moisture helps them last much longer. This can be a really practical solution for managing your groceries and reducing food waste, which, you know, is something many of us are trying to do more of.
Another reason is the sheer versatility it offers. Once your yogurt is dry, it changes its texture and can be used in many different ways. It can become a crunchy topping for cereals, oatmeal, or even salads. You can also rehydrate it, more or less, by adding liquid back to it, though it might not return to its original creamy state. It offers a unique textural element to dishes that plain yogurt just can't provide. So, it's about expanding your culinary options and having a new ingredient at your fingertips, which is pretty neat.
Plus, making a dry yogurt recipe at home gives you complete control over the ingredients. You can choose your favorite type of yogurt, whether it's plain, flavored, or even dairy-free, and you know exactly what goes into it. This is particularly appealing if you're trying to avoid certain additives or sugars found in store-bought snacks. It's also a rather satisfying kitchen project, giving you a sense of accomplishment when you see the transformation from creamy to dry. It's a simple yet rewarding process, honestly.
Getting Started - The Dry Yogurt Recipe Basics
Before you even think about the actual drying part of your dry yogurt recipe, it's good to understand some basic principles. The main idea is to get rid of the water, and there are a few ways to go about that. You can use gentle heat, like from an oven set to a very low temperature, or even a food dehydrator. Some people use the power of air circulation, perhaps with a fan, to help things along. The goal is to evaporate the liquid slowly and evenly, so, you know, you don't end up cooking the yogurt instead of drying it.
The type of yogurt you pick also matters quite a bit for a successful dry yogurt recipe. Thicker yogurts, like Greek yogurt, tend to work better because they already have less water to begin with. This means they'll dry faster and give you a more substantial end product. Runnier yogurts will work, but they might take a lot longer and result in a much smaller yield once all that water is gone. So, choosing a good starting point makes the whole process smoother and more efficient, which is something to consider.
Preparation is also key. You'll want to spread your yogurt out in a thin, even layer. This allows the moisture to escape from all parts of the yogurt more easily. If it's too thick, the outside might dry while the inside stays wet, which isn't what we want for our dry yogurt recipe. So, a good, consistent spread is important for uniform drying. It's pretty straightforward, but paying attention to these little details really helps ensure a good outcome for your homemade dry yogurt.
What You'll Need for Your Dry Yogurt Recipe
To get started on your dry yogurt recipe, you won't need a lot of fancy equipment, which is nice. The most important thing, of course, is the yogurt itself. Plain, full-fat Greek yogurt is often recommended because it's already quite thick and has less water, meaning it will dry more efficiently. You can use other types, but be prepared for a longer drying time. You might want to consider how much you plan to make, as this will influence the size of your drying setup. It's pretty simple, really.
Here's a basic list of what you'll likely need:
- Yogurt: As mentioned, plain Greek yogurt is a great choice. You can use flavored yogurt too, but be aware that the flavors will become more concentrated when dried.
- Baking Sheets or Dehydrator Trays: These are where your yogurt will sit while it dries. You'll want enough surface area to spread the yogurt thinly.
- Parchment Paper or Silicone Mats: These are important to prevent the yogurt from sticking to your trays. They make it much easier to remove the dry yogurt once it's ready.
- Spatula or Spreader: For getting that nice, even layer of yogurt on your drying surface.
- Oven or Food Dehydrator: This is your drying tool. An oven set to its lowest temperature, with the door slightly ajar, can work well. A food dehydrator, naturally, is designed for this purpose and often provides more consistent results.
- Airtight Containers: For storing your finished dry yogurt recipe creations.
Having these items ready before you begin will make the whole process for your dry yogurt recipe much smoother. It's about setting yourself up for success, you know, ensuring you have all the tools at hand. It's a relatively simple setup, which is one of the appealing things about this kind of food preparation.
The Step-by-Step Dry Yogurt Recipe Process
Making a dry yogurt recipe is a patient process, but it's not at all difficult. The key is low heat and plenty of time to let the moisture leave the yogurt. First things first, you want to get your drying surface ready. Line your baking sheets or dehydrator trays with parchment paper or silicone mats. This is a very important step because yogurt, even when it's drying, can be quite sticky, and you want to be able to lift it off easily once it's done. So, make sure those surfaces are well-covered.
Next, take your chosen yogurt and spread it out onto the prepared surfaces. You're aiming for a thin, even layer, perhaps about an eighth of an inch thick. If it's too thick, it will take a very, very long time to dry, and you might end up with parts that are still damp. A thin layer allows the air to circulate around it and helps the water evaporate more efficiently. Use your spatula or a similar tool to smooth it out as much as you can. Consistency in thickness is pretty important for uniform drying, you know, so take your time with this part.
Now comes the actual drying. If you're using an oven, preheat it to its lowest possible setting, usually around 150-200 degrees Fahrenheit (65-93 degrees Celsius). Once it's heated, place your yogurt-covered trays inside. It's often recommended to prop the oven door open just a little bit with a wooden spoon or something similar. This allows the moist air to escape, which is crucial for drying. If the air stays trapped, the yogurt won't dry properly. If you're using a food dehydrator, follow its instructions for fruit leathers or similar items; typically, a temperature around 135 degrees Fahrenheit (57 degrees Celsius) works well for a dry yogurt recipe.
The drying time will vary quite a lot depending on your yogurt's thickness, the humidity in your kitchen, and your chosen drying method. You'll need to check on it periodically. The yogurt should feel firm and somewhat pliable, like a fruit leather, or even brittle if you dry it for a very long time. It shouldn't feel sticky or wet to the touch. Once it's completely cool, you can break it into pieces or even grind it into a powder, depending on how you plan to use your dry yogurt recipe creation. It's a process that requires patience, but the results are worth the wait, honestly.
How Long Does a Dry Yogurt Recipe Take to Dry?
The amount of time it takes for your dry yogurt recipe to be ready can vary quite a bit, so there's no single answer. It largely depends on a few factors. First, the thickness of the yogurt layer you spread out plays a big role. A very thin layer, say an eighth of an inch, will dry much faster than a quarter-inch layer. So, you know, thinner is generally quicker when it comes to getting rid of that moisture.
Second, the method you use for drying makes a difference. If you're using a food dehydrator, which is designed to circulate air and maintain a consistent low temperature, your dry yogurt recipe might be ready in about 6 to 12 hours. An oven, even at its lowest setting with the door ajar, can take longer, perhaps anywhere from 8 to 18 hours, sometimes even more. The humidity in your home can also influence this; a drier environment helps things along faster. It's a bit of a waiting game, honestly.
You'll know your dry yogurt recipe is done when it feels firm and no longer sticky. It should be pliable but not wet, or even snap if you've dried it to a crisp. If you try to peel it off the parchment paper and it still feels gooey or damp in spots, it needs more time. It's better to dry it a little longer than not long enough, as any remaining moisture could affect its storage life. So, check it regularly, and be patient; the transformation is pretty remarkable once it's complete.
Creative Ways to Enjoy Your Dry Yogurt Recipe
Once you've successfully made your dry yogurt recipe, a whole world of possibilities opens up for how to enjoy it. The texture is quite different from regular yogurt, which means it can add a new dimension to many dishes. One of the simplest ways to enjoy it is as a crunchy snack on its own. It's a bit like a yogurt chip or a yogurt bark, offering a satisfying crunch and a concentrated yogurt flavor. You can break it into bite-sized pieces and just munch away, which is pretty satisfying.
It also makes a wonderful topping. Sprinkle pieces of your dry yogurt recipe over your morning oatmeal, cereal, or granola for an added tang and texture. It works beautifully on fruit salads too, giving them a little something extra. You can even crush it into smaller bits and use it as a garnish for desserts, like ice cream or puddings. The possibilities are quite broad, you know, limited only by your imagination. It's a versatile ingredient that can really elevate simple dishes.
Another interesting way to use your dry yogurt recipe is to grind it into a powder. This powder can then be mixed into smoothies for a protein boost, or used in baking to add a subtle yogurt flavor to muffins, bread, or even cookies. Some people use it to thicken sauces or soups, adding a creamy element without a lot of extra liquid. It's a fantastic way to incorporate the goodness of yogurt into various recipes in a completely new form. So, whether you prefer it crunchy or powdered, there are many delightful ways to make the most of your homemade dry yogurt.
Is Your Dry Yogurt Recipe Safe to Store?
Proper storage is quite important for your dry yogurt recipe to keep it fresh and safe to eat for a longer period. Since you've gone to the trouble of removing the moisture, you want to make sure it stays that way. Any moisture getting back into the dry yogurt can cause it to spoil or become moldy, which, you know, defeats the purpose of drying it in the first place. So, keeping it away from humidity is key to its longevity. It's a simple rule, but very important for food preservation.
The best way to store your dry yogurt recipe is in an airtight container. This prevents any moisture from the air from getting in. Glass jars with tight-fitting lids or plastic containers with good seals work well. You can also use vacuum-sealed bags if you have the equipment, which provides an even better barrier against air and moisture. Make sure the dry yogurt is completely cool before you put it into storage, as any warmth could create condensation inside the container, leading to moisture problems.
Store the airtight container in a cool, dark place, like a pantry or a cupboard. Refrigeration isn't usually necessary for fully dried yogurt, and in fact, the humidity in a refrigerator could sometimes be a problem if the container isn't perfectly sealed. When stored properly, your dry yogurt recipe can last for several weeks, or even a few months. Just check it before you use it; if it smells off or shows any signs of mold, it's best to discard it. So, with a little care, you can enjoy your homemade dry yogurt for a good while.
- Neyleen Ashley Of
- Olga Filonenko Sex
- Desi Bhabhi Show
- Guerschon Yabusele Butt
- Natasha Noel Babygirlnoel
Homemade Crockpot Yogurt Recipe | Home Pressure Cooking

Baked Yogurt Recipe: Easy, Healthy, and Delicious Ideas
Frozen Yogurt Recipe
